Launching your new community website


Whether you’re a newbie at building websites or have previous experience, the idea of launching a new website can seem like a daunting task. However, that doesn’t have to be the case! With the right game plan in place, the process can be efficient, enjoyable, and stress-free.
In this article, we’re taking the guesswork out of where to begin by providing a recommended timeline of steps to complete before launching your website!
Personalize your website
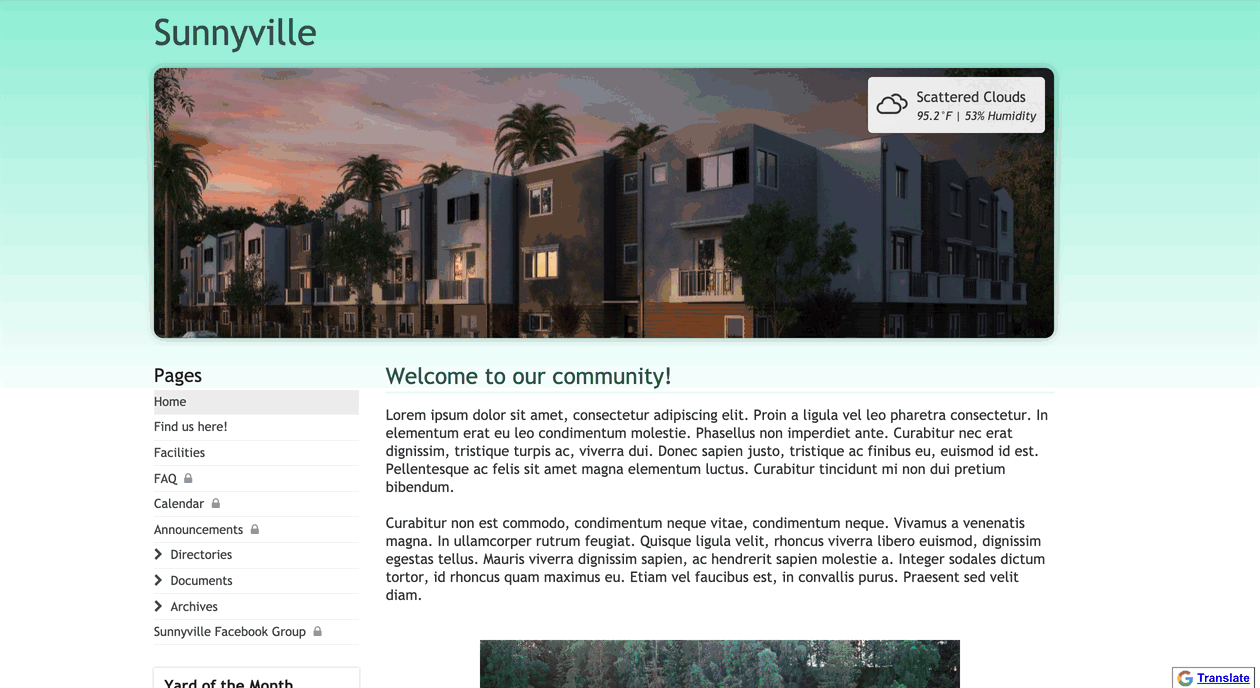
When creating a website on HOA Express’s platform, the first step is to complete our 15-minute setup wizard. Here, you’ll fill out basic information about your community and start to personalize the website by selecting a background, adding homepage text, and uploading a banner photo.
Once you’ve finished the setup wizard, you’ll be redirected to the website, where you can personalize it further by uploading additional images of your community and enabling other homepage settings. This is a great way to showcase your community to future website visitors!
Add content
The next step to take is creating your pages and adding content to them. If you’re unsure of which pages to add at the start, we recommend including ones that fall under the following topics.
About the community
When individuals come to your website, it's important they have information available to learn more about your community. This is especially helpful if you're hoping to attract prospective buyers! Below is a list of page types we recommend adding for this purpose:
- Location (display where to find the community)
- Community facilities (amenities)
- FAQs
- Useful contact information
- News articles (for posting community updates and announcements)
- Calendar (add community events and meetings)
Directories
To provide individuals with a way of knowing who else is a member of the community or currently in a leadership position, utilize the various directory page types available! Those are provided below:
- Board members
- Committees
- Pet directory
- Resident directory
Documents
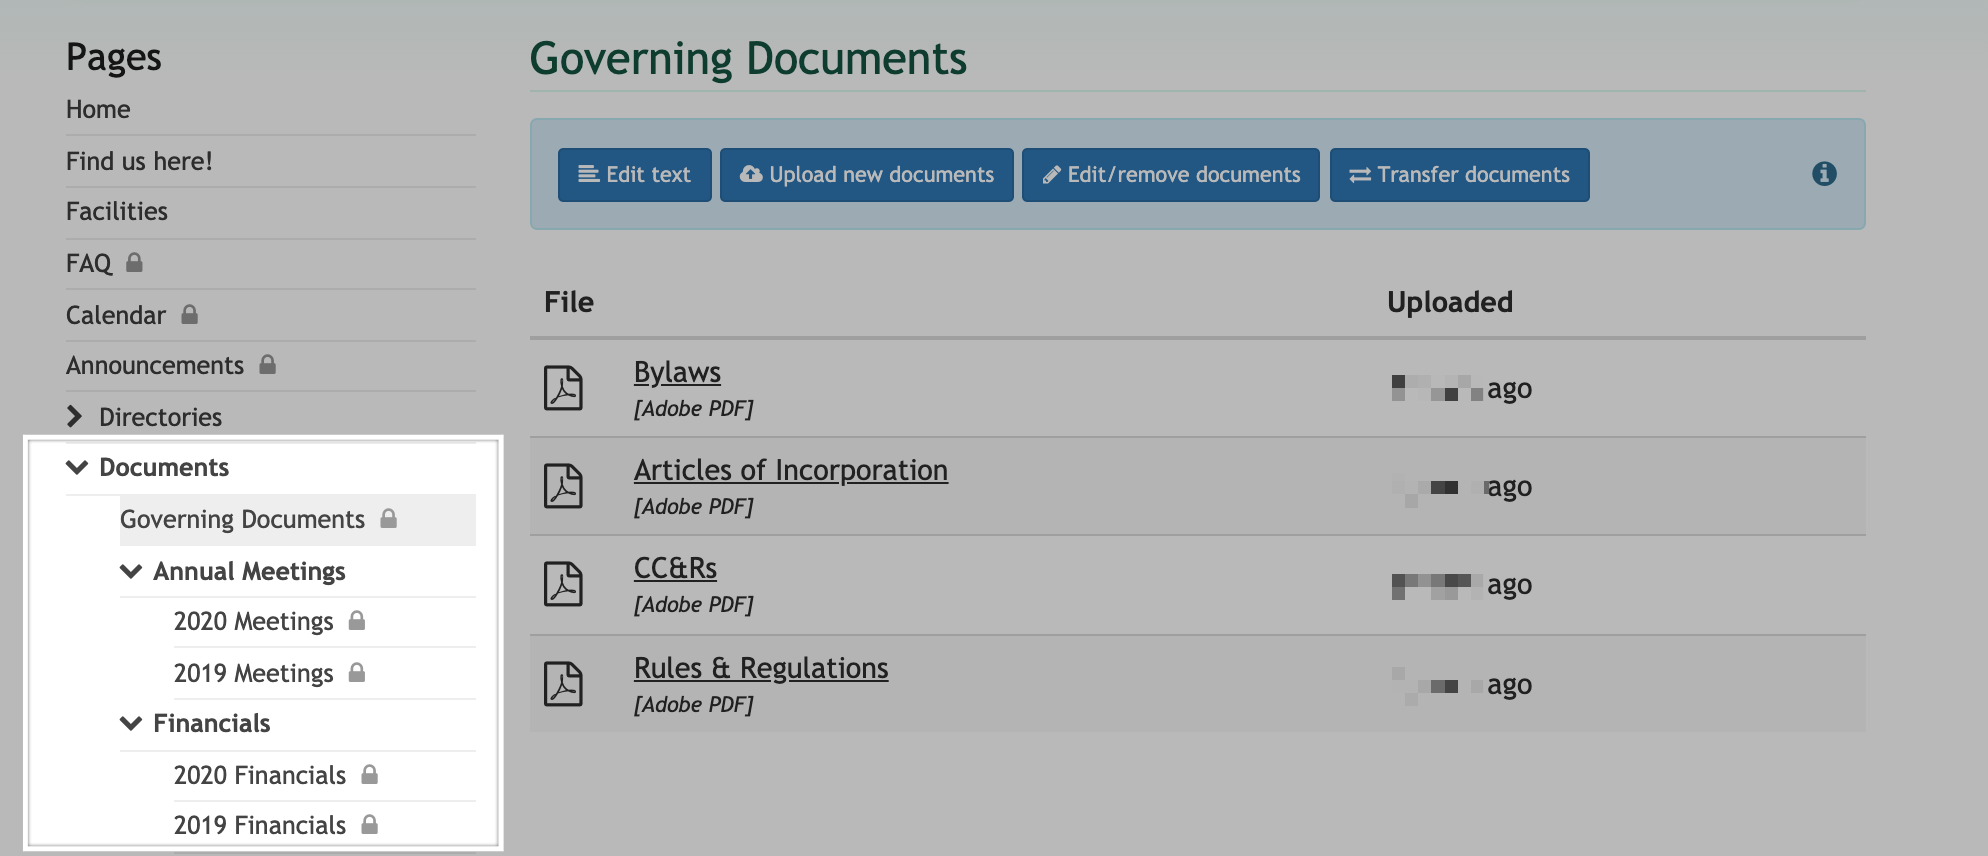
One of the benefits of having a community website is that important community documents can be accessible to members at any time! To create a digital library of these files, use the "Documents" page type to house by-laws and regulations, financials, meeting minutes, and more.
Once you have your "Documents" pages created, consider organizing them further by grouping them into folders and subfolders. An example of what that would look like in the page menu is provided in the screenshot below:
Interactive pages
Lastly, adding pages that individuals can directly interact with is a great way to boost website and member engagement! While there are quite a few interactive pages you can add to your website, we recommend starting with the following few:
- Forum
- Custom form (e.g., maintenance request and architectural request forms members can submit)
- Contact form (for general inquiries to the community)
Additionally, consider which pages you want to be accessible by the public or restricted to only members in your community who have an active, approved account. Setting page restrictions now will incentivize members to have a registered account so they can gain access to that content!
Gather feedback
After you’ve finished setting up your pages, we recommend sharing your temporary address with those who need to view the website pre-launch (e.g., board members or a website committee). From there, you can walk them through the interface and receive feedback on what they like so far and suggestions on the content they’d like to add or update.
Those that have subscribed to the deluxe plan can also utilize our free website review service! After filling out the provided questionnaire, our customer success team will review your website and make personalized recommendations based on your goals and our experience helping thousands of communities build amazing websites. From there, you can make last-minute tweaks based on those suggestions.
Brand your website
One of the last steps we recommend taking before adding your members is branding the community website by adding a custom domain (e.g., mycommunity.com). Having a custom domain gives your community a professional website address to visit, is easier to remember, and helps with rankings in search results.
Once the domain has been successfully set up on your website, you can use that to create community-branded email accounts. You can create up to 25 email accounts for different positions, groups, or committees in the community (e.g., board@mycommunity.com). These are a great way to converse back and forth with members and service providers in a professional capacity!
Ready, set, launch!
Congratulations, you’ve made it to the last step and are ready to launch the new website to your community! Now is when you’ll want to register accounts for your members. To do this, you can choose between the two registration tools available; inviting them to join and importing them into the website. To learn more about each option, check out our blog post here.
For members where you're missing their contact information, we recommend posting a notice on a community bulletin board, speaking with them directly, or sharing the website details at the next community meeting. You can also take this opportunity to let your members know about the benefits of having a registered account on the website!
After your members have their registered accounts, you can use the blast emailing feature to send a follow-up message with additional welcome information and what to expect from the new website.
Wrapping up
Designing a website doesn’t have to be a tedious or confusing task. Instead, it can be a fun and creative experience that provides massive value once completed. By following the above steps in the suggested order, you’ll have a beautiful, informative, and personalized website up and running for your community in no time!