How to set up a reservation system on your website


With the arrival of summer upon us, outdoor activities and gatherings are in full swing!
To ensure residents get the most out of their community amenities this season, we have a few handy tips we'd like to share. Whether it's pinning down available time slots for the tennis courts or allowing residents to host a party, utilizing your website to reserve these areas can introduce a new way for all residents to share in these great benefits.
In this article, we’ve outlined 5 steps to help you set up a reservation system on your community website!
Step 1: Reservations calendar
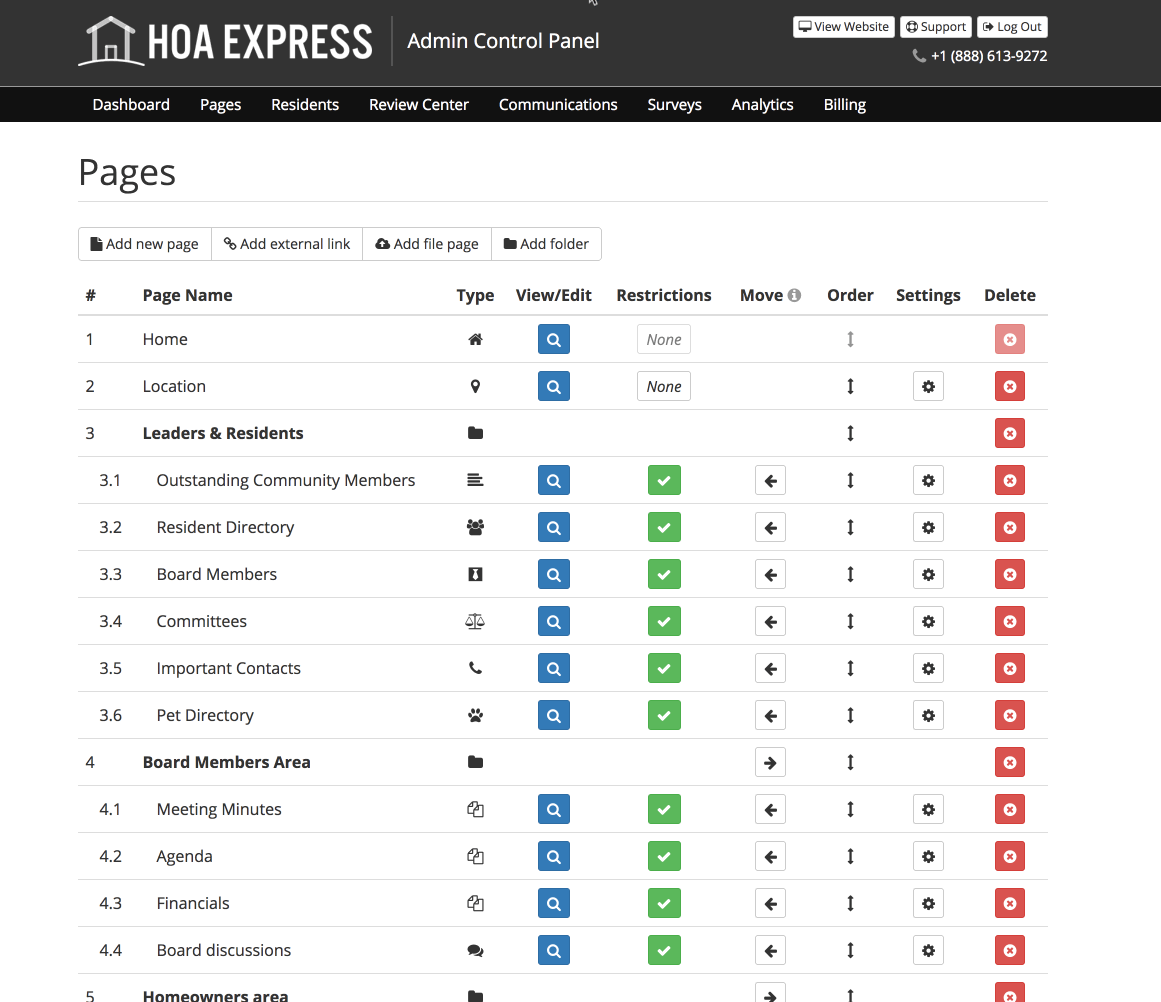
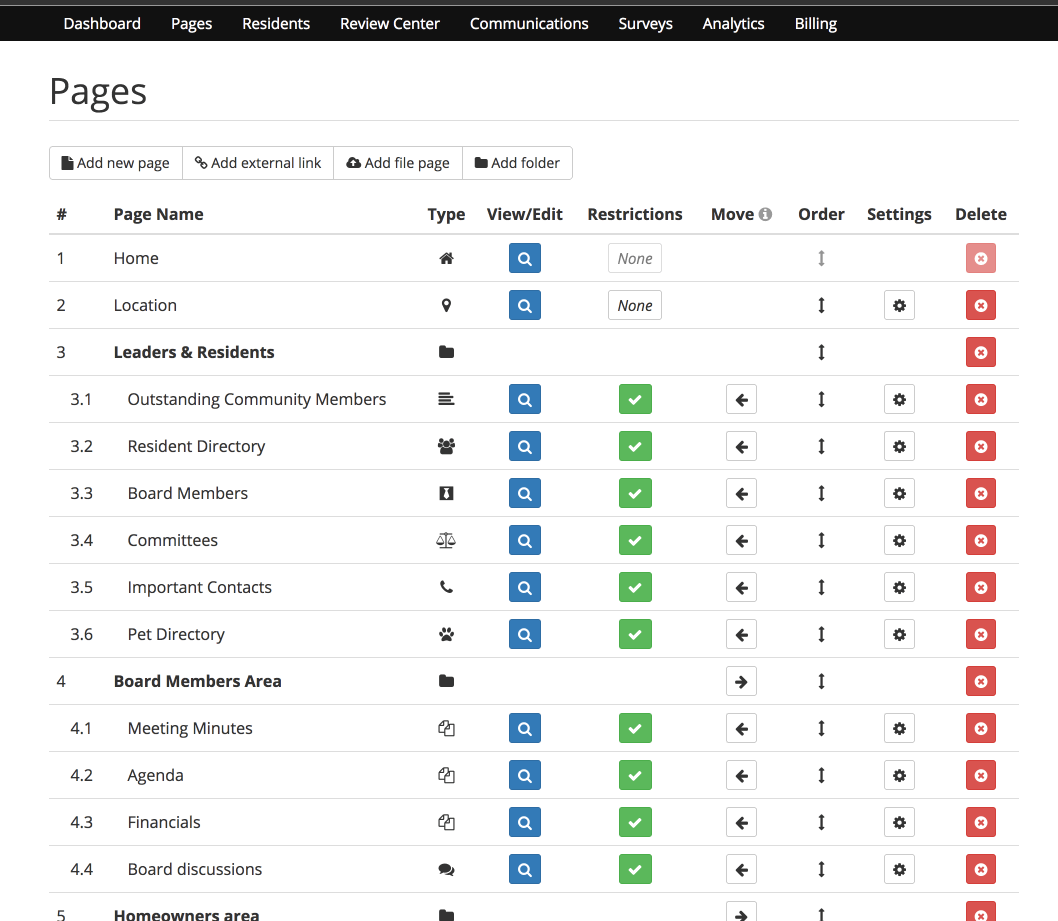
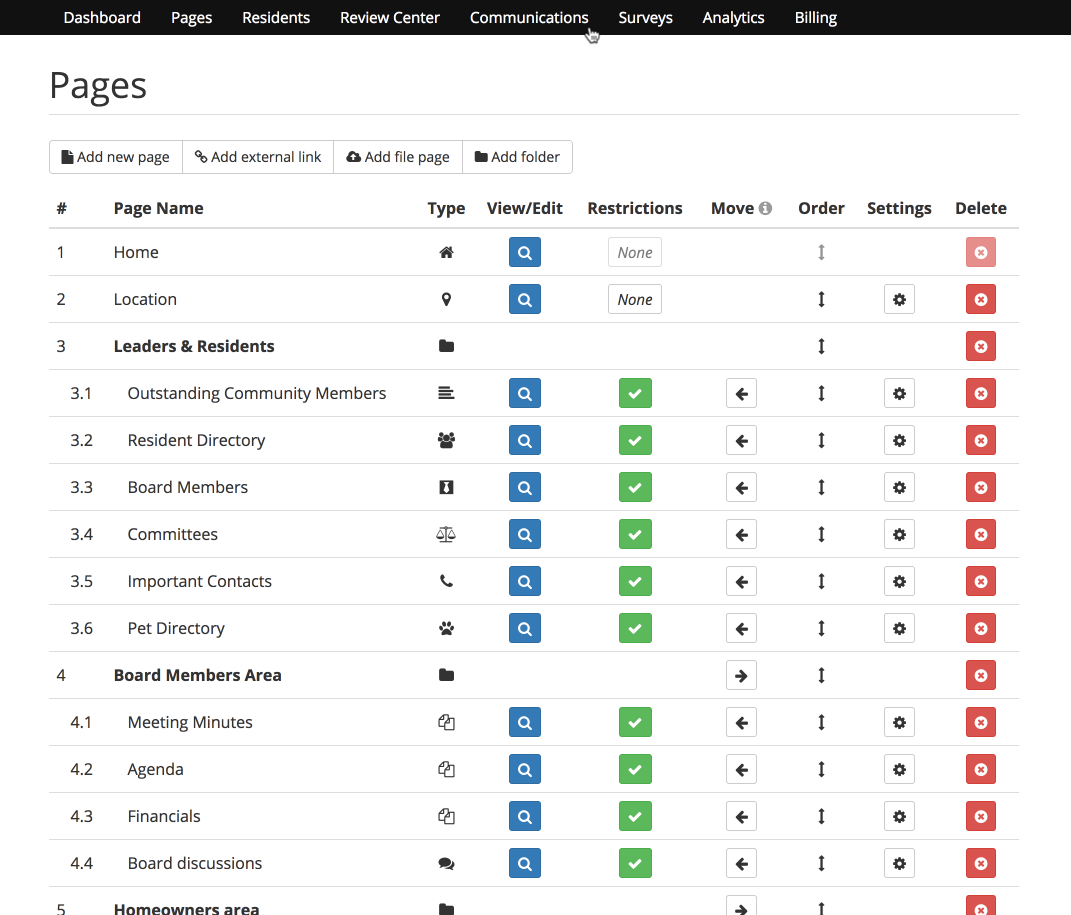
Using the "Calendar" page type, create a new page that will be used specifically for displaying reservations for all amenities. When creating your calendar page, you can add one calendar page that will show reservations across all amenities or you can create separate calendar pages to manage reservations for each amenity.
To keep your page list concise and clear for residents, we recommend including the word “reservations” in the page title, such as “Pool Reservations” or “Amenity Reservations.”
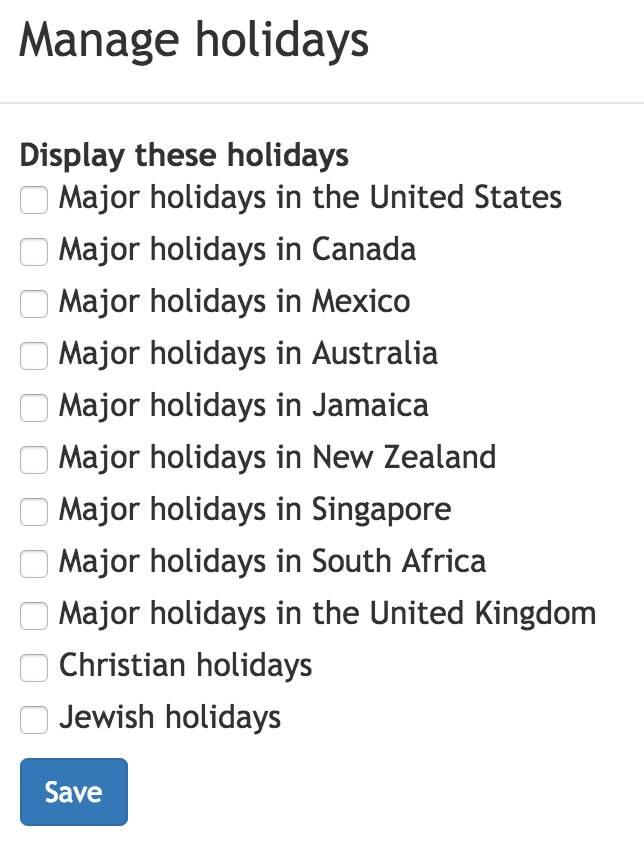
Tips
On the calendar page, consider removing major holidays using the “Manage holidays” setting. Doing so will keep the calendar uncluttered and the reservations easy to spot.
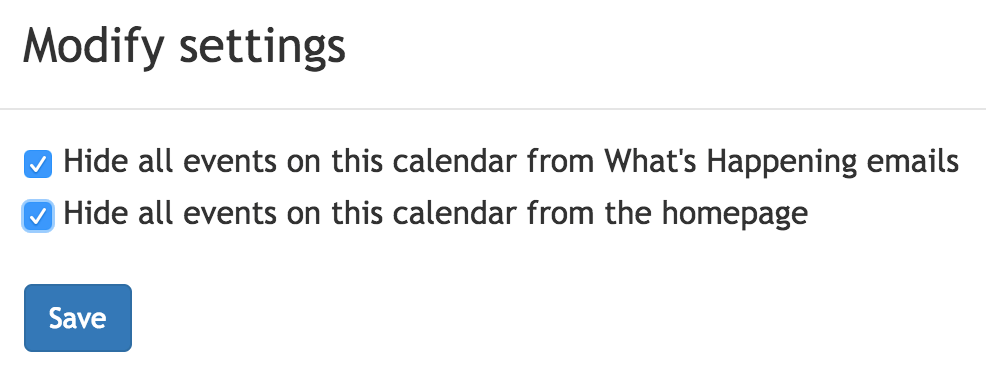
You can also click the “Modify settings” button on the calendar page to hide events that are posted to the reservations calendar from the homepage and/or What's Happening emails. Generally speaking, reservations are not something that all residents should be notified about. Eliminating these from community event notifications will keep resident’s attention turned towards community events posted to the other calendar pages.
Step 2: Point of contacts
Designate a person or small group of people that will be responsible for managing reservations. Add the necessary privileges to their account in order for them to fulfill this role.
You can do this by granting them the admin privilege over “pages” or you can add them as a page editor to each page created for reservations. Read more about these two options here: When to choose a vs. the pages privilege.
Step 3: Submitting reservations
Create a page using the “Contact Form” page type. With this page, residents can electronically send a reservation request. We recommend naming this page with a clear title such as “Amenity Reservation Request Form.”
Be sure to add your point of contact(s) as the recipient(s) of the form. This will ensure all reservation requests are sent to those that you’ve placed in charge of this process.
The point of contacts will need to review the requests that are emailed from the “Contact form” page against the reservations already placed on the calendar page to determine availability.
If the date and time requested are available, they would need to create an event for that reservation on the calendar and inform the resident that their reservation request was approved! Similarly, if the date and time have already been booked, they'd need to let the resident know and ask that they choose another available date and time.
Tip
Add a note to the top of your “Reservation request form” page advising residents to check the availability of their date and time on the “Reservations” calendar before submitting their request.
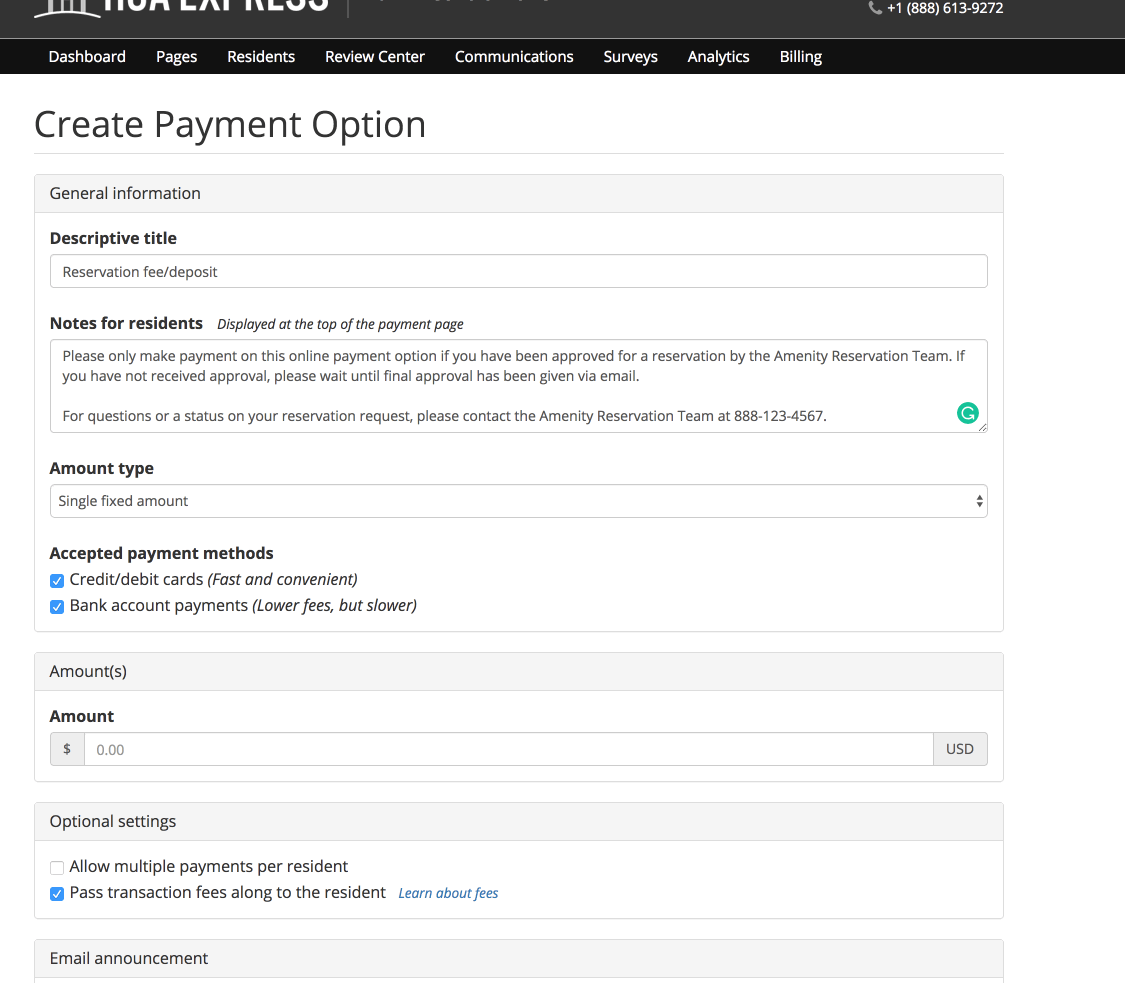
Step 4: Reservation fees and deposits
If your community requires a fee or deposit before a reservation is finalized, we suggest posting this information to the top of the “Reservation request form” page and utilizing the “Online payments” feature for collecting these payments.
With this feature, online payment options can be created with pre-determined dollar amounts for residents to pay after a reservation has been approved.
When creating the online payment option, we recommend selecting “Allow multiple payments per resident.” Doing so means the online payment option will remain active and available for residents to pay anytime they reserve an amenity.
Below is a GIF of an example online payment option.
To ensure the people in charge of reservations have proper access to verifying these payments, be sure to grant them the admin privilege “online payments” from the “Residents” section.
After confirming the availability of the reservation and responding to the resident, the team managing reservations will want to include information about the fees and/or deposits that are required before the reservation is finalized and ask that the resident log into their account to make this online payment.
The reservation team will need to confirm these payments by visiting the “Online Payments” section and clicking the button found in the “Details” column next to the online payment option set up for reservations (as shown below).

They will want to ensure the funds are cleared and deposited into the community bank account well before the reservation takes place.
Step 5: Organization
Lastly, move your reservation form and calendar pages to a folder. Consider titling your folder with a name such as “Reservations.”
Creating folders is a great way to group similar pages together and will help visitors easily spot what they're looking for from the page list.
Wrapping up
With these pages and specific points of contact in charge of managing reservations, everyone has a greater chance to equally enjoy each amenity your community has to offer.
If you'd like more suggestions on how to get the most from your website, please feel free to reach out to us at support@hoa-express.com.