Using photos to highlight your community

They say a picture is worth a thousand words, and that can certainly be true! Whether you’re using a professional camera or a smartphone to snap your community photos, the images you add to your website will speak volumes about your community and its members.
In the article below, we’ve provided best practices for selecting photos to upload, as well as some tips for how to use these to add visual interest to your website. Let’s get started!
A few basics
An important place to start is making sure you select photos with the appropriate file type, size, and resolution. We recommend uploading either JPEG or PNG image files to your website since these are generally the most widely-supported image file types.
To ensure the best visual experience for your website visitors, you’ll also want to upload clear, high-quality images. Avoid low-quality or pixelated photos that can happen as a result of resizing a small picture to make it larger. Blurry images can also happen as a result of camera shake, so steady yourself and the camera beforehand!
Tips
One of the most prominent photos on your website is the banner photo at the top of the page. To take the best photo for this, we recommend zooming out on your camera or standing a fair distance away while taking the photo. This way, your image will easily fit within the 10:3, width to height crop ratio, and should help avoid distortion.
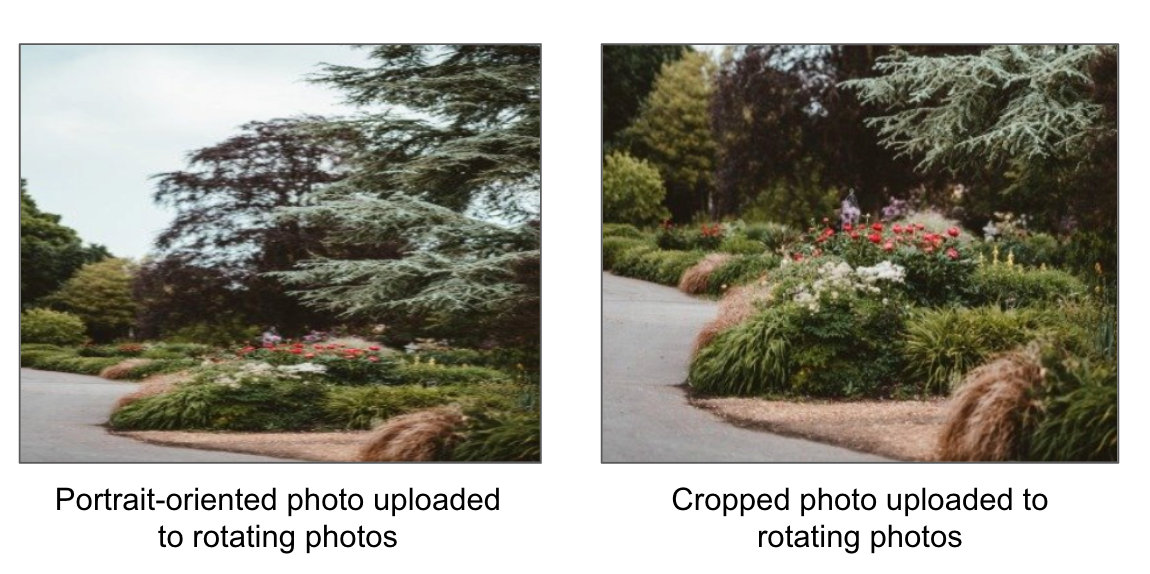
You can also avoid distorted rotating photos on the homepage by using landscape-oriented photos. However, if you’d like to use portrait-oriented photos, we recommend cropping the images first to a 4:3 ratio. An example of this difference is provided below.
Select the right images
After mastering the basics, move on to selecting photos that best reflect your community. A great place to start is including snapshots of common areas, like your community entrance, clubhouse, and amenities.
To further showcase your community, we also recommend choosing photos that reflect your community's values. Is your community tied to being close to nature? Display this by including landscape and nature photos on the website. Are you a close-knit, active community? Create photo galleries that highlight lively community events, club meetings, and gatherings.
Tip
Using the “Photo Gallery” page type is a great way to share a collection of photos with visitors. This page type allows you to view the photos together in one view, or enlarge and scroll through them.
When uploaded, the photos will display based on their uploaded dimensions. If you’d like all of your photos to display the same size, we recommend cropping the photos ahead of time to the same dimension. You can resize and crop photos on most devices through their built-in software. There are also several free apps and online tools available, like ImageResizer.com, to help you do this.
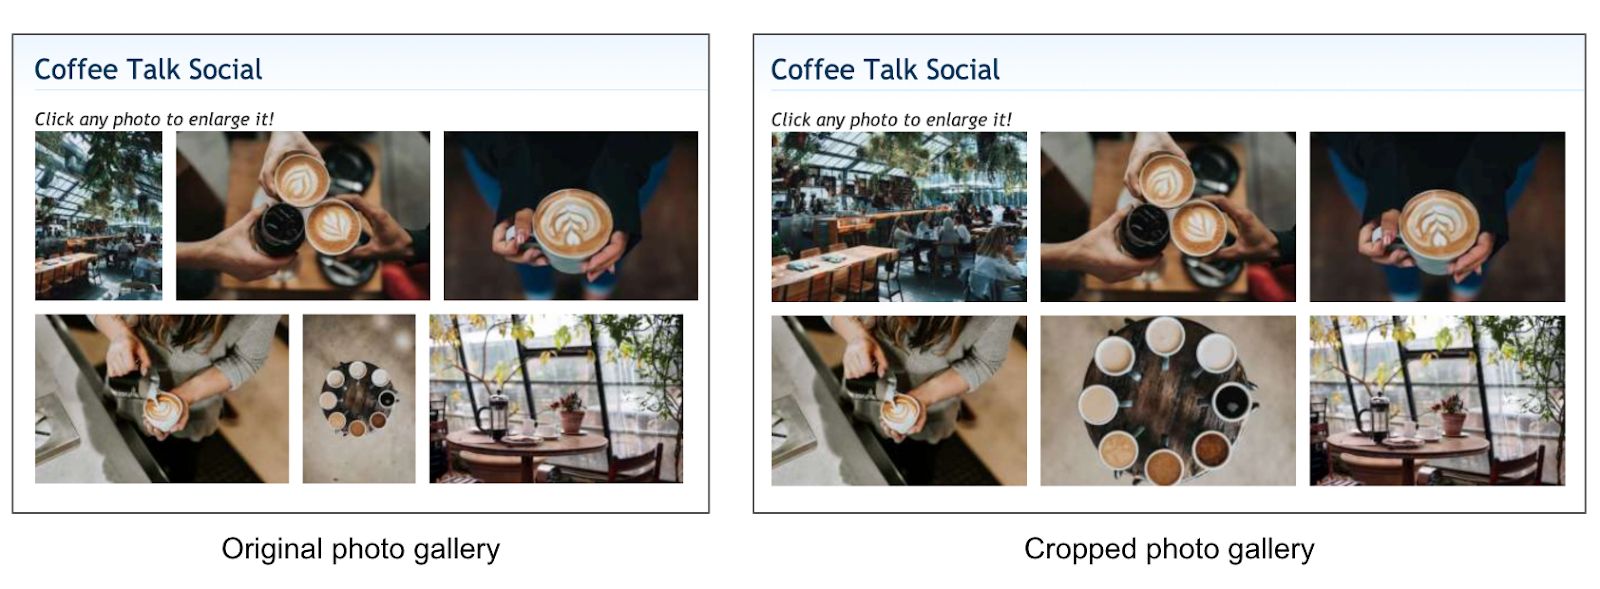
Image placement
The placement of an image on your website is just as important a factor as the image itself. A well-placed image can encourage a visitor to stay on your website longer and discover more information about your community. On your website, there are several areas where you can upload and highlight photos of your community to further showcase it.
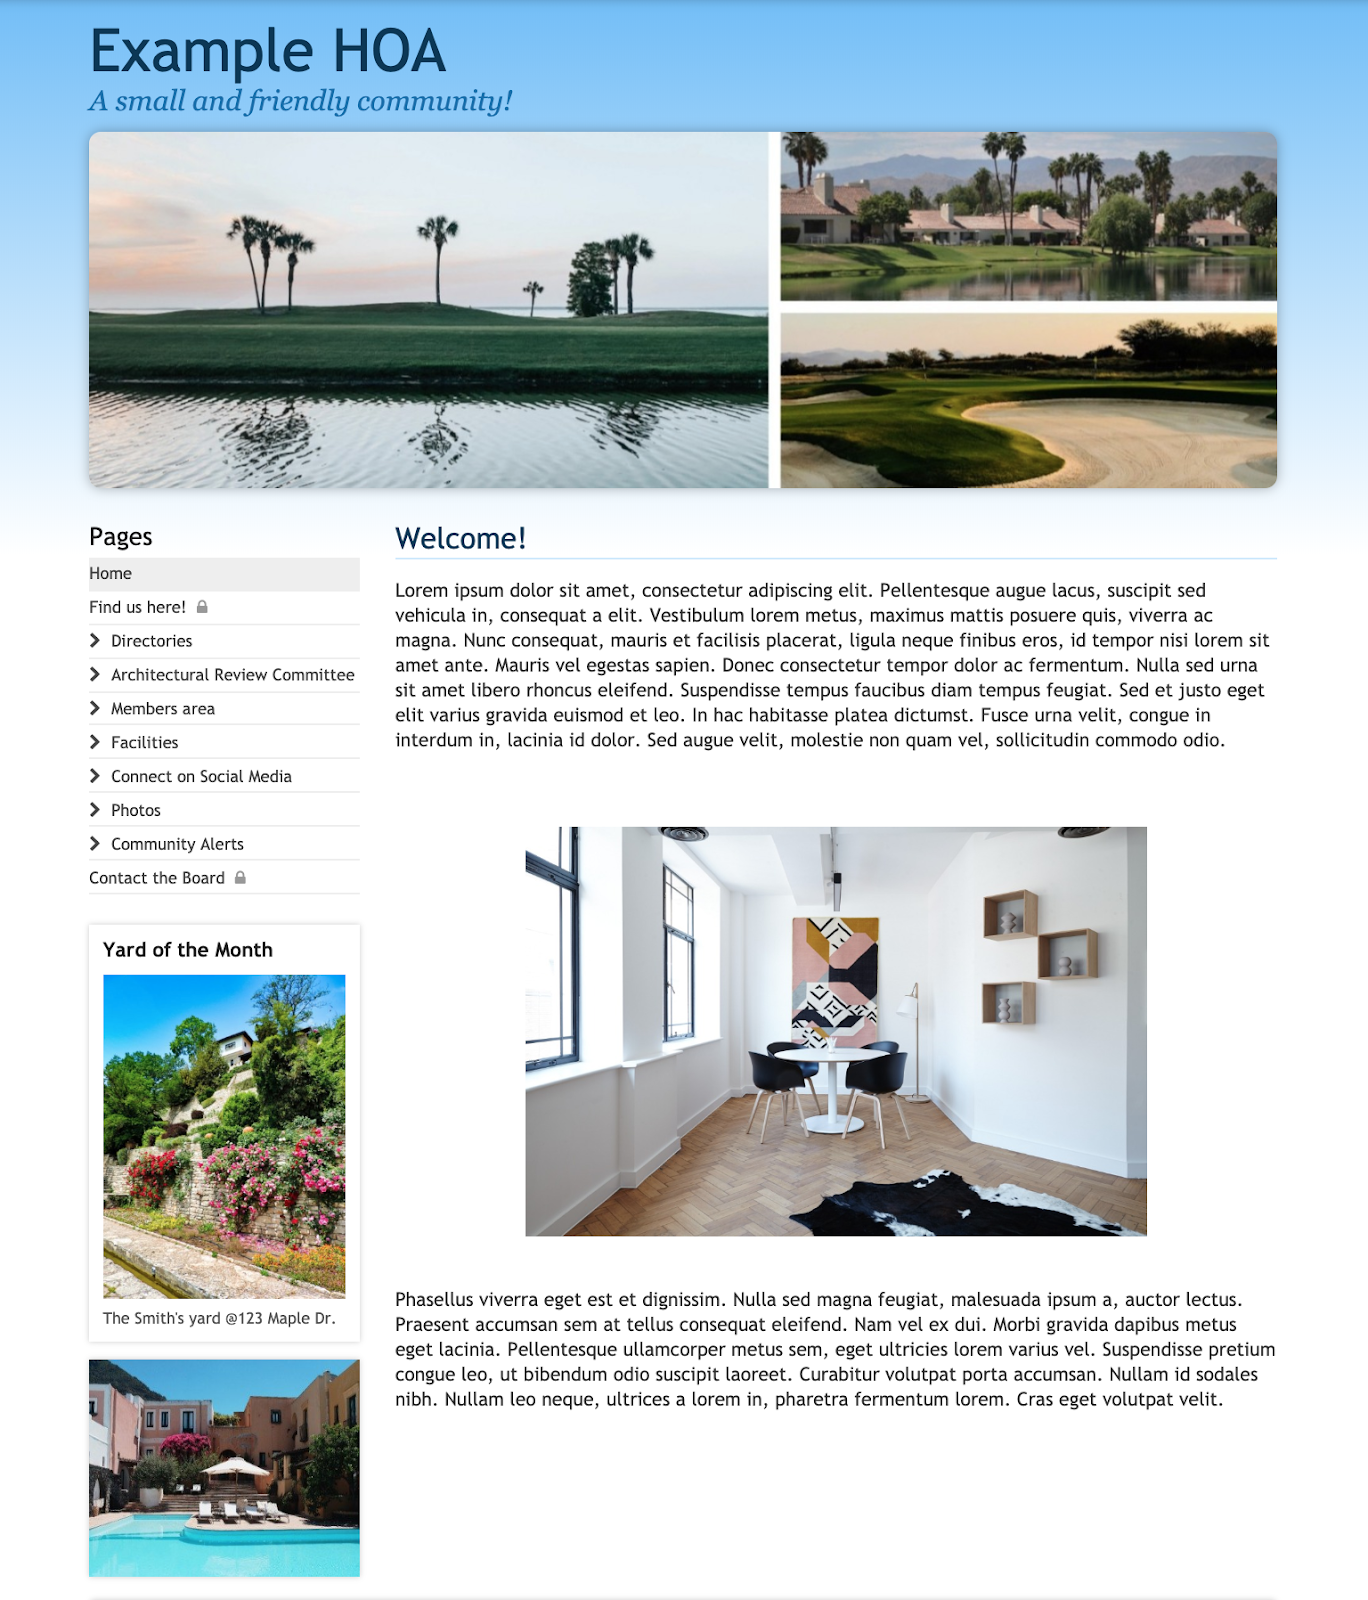
The homepage is one of the best places to provide visitors with a positive visual first impression of your community. From the banner photo to the rotating photos and YOTM features, this page offers several locations where you can show more about your community. You can additionally upload images to the homepage text, as shown in the example below.
Individual pages also provide fun ways to showcase images of your community from “Photo gallery” pages to the “Community Facilities (Amenities)” page type.
Tip
If your community doesn’t have shared common spaces, use the “Community Facilities (Amenities)” page type to highlight local attractions!
Wrapping up
Adding images to your website is a great way to not only personalize it but to also tell the story of your community. By using the tips and best practices covered in this article, you can use these images to help visually communicate to your visitors who your community is, what your values are, and what they can expect from visiting.